


Regularly cleaning leather is a vital part of keeping your leather items looking new. But the process of cleaning and conditioning leather — and the products you use to do so – is quite specific. That’s because leather is a natural material, and it can be delicate. Typical cleaning methods don’t always work on leather, and some of the most common household cleaning products or DIY leather cleaners may damage the leather.
If you have leather that needs a good cleaning, check out our guide below. These steps will teach you how to clean almost every type of leather and leather item.
1. Understand what type of leather you have
As we noted earlier, leather is a natural material and varies widely, so it’s important to know what type of leather you have and what the manufacturer's instructions are for that leather. If your leather is prone to water stains — many soft leathers are — be sure to clean the entire surface of the leather rather than simply spot treating.
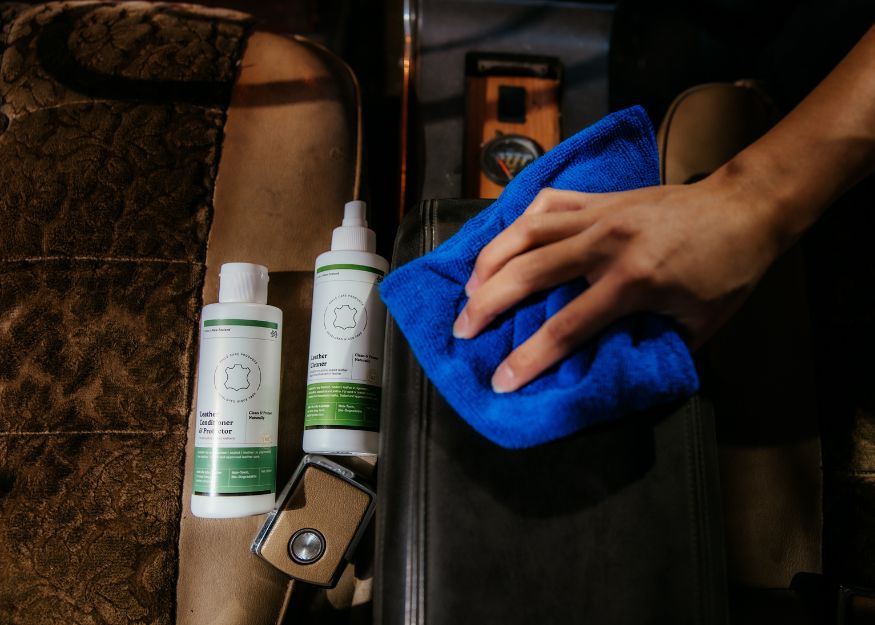
Remember to spot test any leather cleaning product you plan to use in a hidden, discreet area. This is true even if you’re cleaning with a product that is suitable for all types and colors of leather, like our own Pelle Leather Cleaner. Spot testing involves finding a hidden section of the item, applying a bit of the leather cleaner and then allowing it to dry so you can fully preview the effects. Need help finding a good spot? Try the underside or back of a couch cushion, the inside of a jacket collar, or the inside seam of a purse.
2. Clean stains on your leather quickly
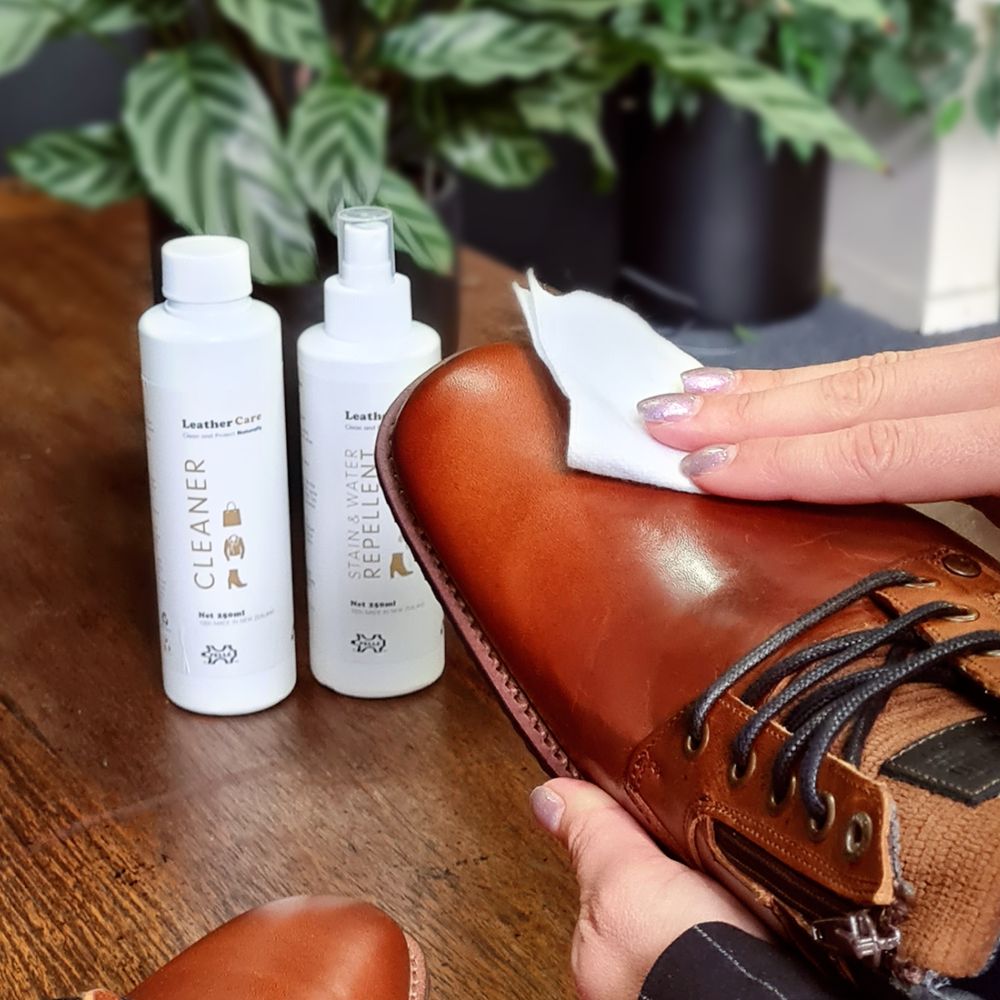
Leather can be a very absorbent material, unless it has been coated with a protective barrier. That means the sooner you can clean your leather the better. If you let a stain linger, it increases the odds that it will be difficult to remove. If you spill something, time is of the essence. Use a lint-free cloth to blot any liquid stains so you remove as much moisture as possible. Quickly cleaning the stain will always get you the best results, even if you’re cleaning really dirty leather. You might also want to get into the habit of giving your leather items a frequent once-over to make sure they don’t need immediate cleaning.
3. Remove loose dirt and dust
Before using a leather cleaning product, you’ll want to remove any dirt and dust from the surface of the leather. We suggest using a dry, lint-free cloth or a vacuum. This is especially important with leather car seats and leather couches or chairs, which tend to accumulate bits of dirt in the cracks and crevices. It’s also crucial with leather shoes and boots, which may get muddy or dirty. Gently brush any loose dirt away before cleaning the leather.
4. Clean the leather thoroughly, but don't scrub
In most cases, you should not have to scrub — gently wiping the leather will remove most dirt and grime. If you have set stains that aren’t lifting, you may need to clean the leather a few times to get rid of the toughest spots. Just keep in mind: you should still use a gentle hand – scrubbing leather can remove the dye or damage its finish, which is not what you want.
5. Condition after cleaning the leather
Cleaning and conditioning your leather go hand-in-hand. Using a conditioner on your leather will help preserve it and prevent future stains. After cleaning the leather, let it dry completely. Once the leather is dry, you’re ready to protect and soften it with a leather conditioner. Apply Pelle Leather Conditioner using a lint-free application cloth. Gently rub a thin, even coat into the leather.
HOW TO CLEAN SPECIFIC TYPES OF LEATHER
The process for cleaning leather is very similar whether you're cleaning a leather jacket, leather car seats or leather motorcycle gear. That said, and as mentioned above, it's wise to understand the type of leather you're cleaning and get familiar with the manufacturer's instructions.